
You can draw a camera path for Gemini Omni in two seconds. The hard part is drawing one the tool reads the same way you meant it. Most people scribble a loose arrow, get a move that is close but not right, and give up on the feature. The fix is not drawing better art. It is using a small, consistent set of marks so your sketch says exactly one thing.
This guide is that set of marks, plus a library of ready-made shots you can copy. Draw the mark, add a short angle note, and the move comes out the way you pictured it. No timeline, no keyframes. If you want to test as you read, open the Gemini Omni video generator and try each recipe.
Why your drawn paths come out wrong
A loose sketch leaves too much open. A single curved arrow could mean a slow drift or a fast swing. A dot in the corner could be where the camera starts or where it looks. The tool has to guess, and half the time it guesses differently than you did.
The answer is a tiny notation. Six marks cover almost every move. Once you draw them the same way every time, your results stop being a coin flip. Think of it like handwriting: messy is readable once, but a clear, consistent hand is readable every time. The marks also give you something to debug. When a clip misses, you can point to the exact mark that was unclear and fix that one thing, instead of redrawing the whole sketch and hoping. That is the difference between guessing and a method you can repeat.
The sketch notation: six marks
Here is the whole system. You can draw it on paper, a tablet, or any app. Keep it rough; you are making a map, not a picture.
● Start dot. A filled dot marks where the camera begins.
■ End square. A small square marks where the camera stops.
→ Path arrow. The line from dot to square is the route. Curve it for a curved move, keep it straight for a straight one.
Arrow length = speed. A long arrow means a fast move; a short one means slow. Same path, different pace.
↑ or ↓ tick. A small up or down tick on the path means the camera rises (crane up) or drops (crane down) there.
◯ Orbit ring. A ring drawn around your subject means the camera circles it instead of passing by.
That is it. Six marks. Everything below is built from them.
A habit that pays off: write a one-line note next to the sketch, like "top-down view of a kitchen; camera path in red." A little context helps the tool line your drawing up with the scene.
The shot recipe library
Each recipe has three parts: what to draw, the short angle note to type with your scene, and what you get. These angle notes are the kind of clear gemini omni change video camera angles prompt that turns a flat clip into a real shot. Steal them and change them to fit.
1. The slow push-in
Draw: A start dot a few steps back, a short straight arrow toward the subject, an end square right in front of it.
Angle note: "Start at eye level and push in slowly, keeping the subject centered."
Get: A gentle dolly-in that builds focus on one thing. Good for product hero shots and dramatic reveals.
2. The orbit
Draw: A ring around the subject, with a dot where the camera starts on the ring.
Angle note: "Orbit the subject smoothly at a steady distance, keeping it centered."
Get: A clean circle around an object or person. Great for product 360s and showing off a space.
3. The crane-up reveal
Draw: A start dot low, a short path toward the subject, an up tick near the end, and an end square higher up.
Angle note: "Begin low, move in, then rise up and tilt down to look over the scene."
Get: A reveal that starts close and opens out. Good for landscapes, big rooms, and "ta-da" moments.
4. The door push-through
Draw: A start dot outside a doorway, an arrow that passes through the gap, an end square on what is inside.
Angle note: "Move forward through the doorway and settle on the subject inside."
Get: A move that travels from one space into another. Good for entrances, walkthroughs, and "step inside" shots.
5. The drone flythrough
Draw: A start dot high and far, a long curved arrow over the scene, an end square farther in.
Angle note: "High aerial view, glide forward and slightly down over the scene."
Get: A sweeping overhead pass. Good for travel clips, real estate exteriors, and big openers.
6. The low hero rise
Draw: A start dot low and in front of the subject, a short path, an up tick, an end square at head height.
Angle note: "Start at ground level looking up, then rise to eye level on the subject."
Get: A shot that makes a subject feel powerful. Good for product launches and character intros.
7. The pull-back reveal
Draw: A start dot tight on the subject, a straight arrow going backward, an end square far behind it.
Angle note: "Start tight on the subject, then pull straight back to reveal the whole space around it."
Get: A move that opens from one detail to the big picture. Good for "there is more here than you thought" moments.
8. The quick swing between two subjects
Draw: A start dot on the first subject, a long arrow swinging across to the second, an end square on it.
Angle note: "Swing quickly from the first subject to the second and settle there."
Get: A fast, energetic switch with no cut. Good for before-and-after, comparisons, and reactions.
Save the recipes you use most. Over time you build a small deck of go-to shots, and planning a video turns into picking from your own menu instead of starting from scratch.
Picking the right shot for the job
Not sure which recipe to reach for? Match it to what you want the viewer to feel:
Build focus on one thing → push-in or low hero rise. The camera commits to a single subject.
Show something off from all sides → orbit. Best for products and objects.
Open up a space → crane-up reveal or pull-back. Start small, end big.
Move the viewer somewhere → door push-through or drone flythrough. Good for "come with me" energy.
Compare two things → quick swing. It links two subjects in one breath.
When in doubt, the push-in is the safe pick. It is simple to draw, hard to get wrong, and fits almost any subject.
From sketch to clip: the in-browser workflow
Here is the full flow, start to finish. This is the practical gemini omni sketch to realistic video pipeline, and it runs in your browser with no setup.
Step 1 — Draw and upload. Make your sketch with the six marks, snap a photo, and drop it into the tool as an image. Because Gemini Omni reads images directly, it takes your marks as a spatial instruction. No separate scanning step.
Step 2 — Describe the scene. Type what the place looks like: the setting, time of day, mood, and style. The drawing carries the camera path; your words carry the world.
Step 3 — Add the angle note. Paste the short angle note from your recipe. This sets height, tilt, and pace on top of the path. Together they pin down the exact shot.
Step 4 — Generate and review. Press generate and watch the clip. If it is close, you are nearly done. If not, you fix it by talking, which is the next section.
A tip worth its weight: get the move right on a short version first. Lock the shot, then extend or add detail. It saves you re-rolling a long clip while you are still tuning.
Fixing the shot by talking
The best part of this AI video generator is that you do not start over when something is off. You describe the change and the tool applies it while keeping the rest the same. Here is a short gemini omni conversational video editing tutorial in practice, all camera-focused:
"Slow the whole move by about 30 percent."
"Start the push a little lower and end higher."
"Make the orbit go the other way."
"Hold on the subject for the last second before stopping."
"Keep the path the same, but change it to a foggy morning."
Each line changes one thing. That is the trick: one request per message. A pile of changes at once is harder for the tool to land cleanly, and harder for you to judge what worked. Talk it down to the shot you want, one step at a time.
How Gemini Omni compares on camera control
Plenty of tools make video. Far fewer let you steer the camera the way a drawn path does. The table below is an illustrative comparison focused on camera control, so you can see where the real gaps sit. Features are on the left. (Values are simplified examples, not official numbers.)
Camera-control feature | Gemini Omni | Runway Gen-4 | Luma | Kling | Sora |
|---|---|---|---|---|---|
Build a move from a drawn sketch | ✅ | ❌ | ❌ | ⚠️ | ❌ |
Read start / end markers | ✅ | ❌ | ❌ | ❌ | ❌ |
Set speed from the sketch | ✅ | ❌ | ❌ | ❌ | ❌ |
Orbit a subject on command | ✅ | ⚠️ | ⚠️ | ✅ | ✅ |
Chain several moves in one clip | ✅ | ⚠️ | ⚠️ | ✅ | ✅ |
Change the angle by text prompt | ✅ | ✅ | ⚠️ | ✅ | ✅ |
Edit the move by chatting | ✅ | ❌ | ❌ | ⚠️ | ❌ |
Adjust move speed after generating | ✅ | ❌ | ❌ | ❌ | ❌ |
Keep subject and lighting steady | ✅ | ⚠️ | ⚠️ | ✅ | ✅ |
Push-through / pass-by moves | ✅ | ⚠️ | ⚠️ | ⚠️ | ✅ |
Native audio synced to the move | ✅ | ❌ | ❌ | ❌ | ⚠️ |
Max resolution | 4K | 1080p | 1080p | 1080p | 1080p |
The short version: most tools can change an angle if you describe it, and a few can orbit on command. Far fewer can read a drawing, set speed from it, and let you fine-tune by chatting. That combination is where the camera path earns its keep.
A founder's take: Pan Lijie on the camera path
We asked Pan Lijie, founder of Gemini Omni, to share an honest reflection on using the drawn camera path day to day. Here is what they said:
"The first time I drew a path instead of typing one, something clicked for me. For years I had been writing long, careful sentences to describe a camera move, and the tool would still guess wrong half the time. With a sketch, the guessing mostly stopped. I drew an arrow, and the camera went where the arrow went. It felt less like fighting software and more like handing a quick note to a crew member who just gets it.
What surprised me most was how it changed the way I think before I shoot. Now I sketch the move first, the way a real director plans a shot, and the planning itself makes the video better. The drawing forces me to decide what the camera should care about. I am not chasing the perfect prompt anymore. I am drawing a line, talking through a few tweaks, and moving on. For me, that shift from typing to drawing is the whole point."
Tips for better camera paths
A few small habits make a big difference:
Keep the sketch simple. A clear start point and bold arrows beat a busy, detailed drawing.
Label your waypoints. A word or two next to each stop helps the tool place the move.
Split the path from the angle. Let the drawing carry the path; use words for height and tilt.
Generate short first. Get the move right on a short clip, then extend it.
Edit by talking, one change at a time. Small, single requests are easier to get right than one giant rewrite.
Add the mood in words. Light, time of day, and style live in your text, not your sketch.
Why Choose the Gemini Omni AI Platform for Free Access?
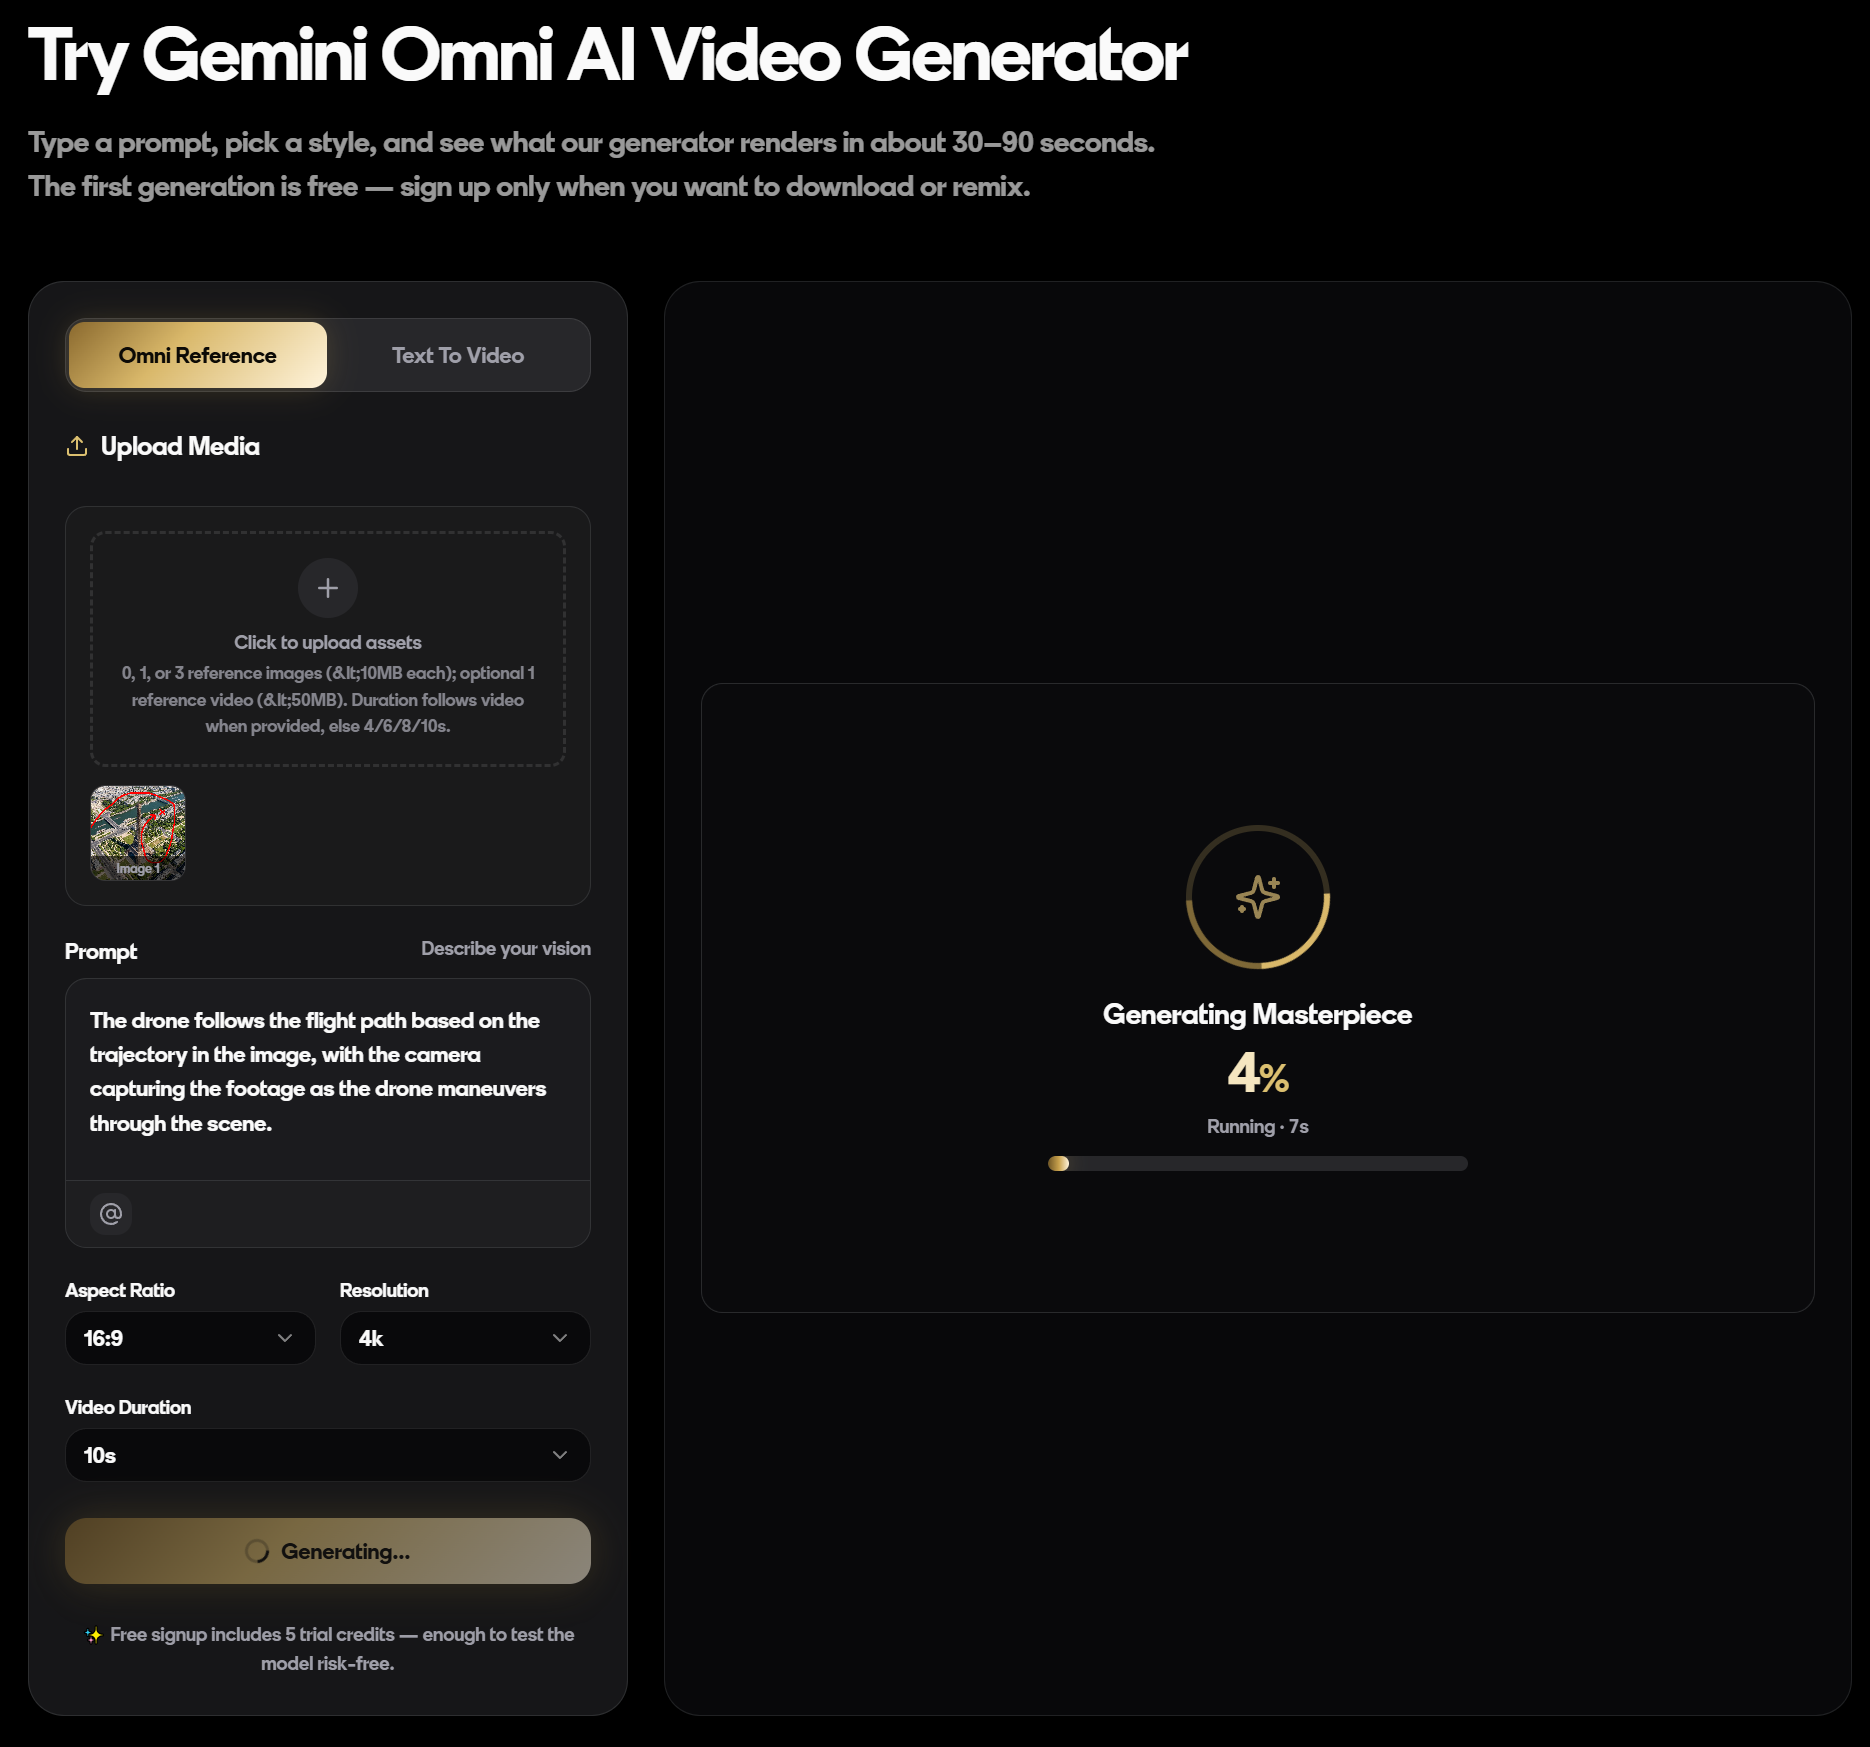
While Google provides base API connectivity to its foundational models, trying to generate complex video workflows inside a bare-bones text prompt box introduces massive pain points—including a lack of visual mapping drawing tools, heavy queue wait times, and unstable character consistency. To unleash the full potential of these camera control capabilities, creators rely on the centralized workspace at the gemini omni free generator.
The platform encapsulates complex spatial mechanics inside an incredibly intuitive "Interactive Vector Mapping Workspace." You can upload your storyboard files seamlessly while taking full advantage of custom latent seed locks that keep character faces consistent across scenes. By removing complex local API setups or heavy cloud compute queues, the platform offers a fast, web-based online interface built specifically for webmasters and media engineers to scale their video distribution pipelines immediately.
Frequently Asked Questions (FAQ)
Q1: Do I need to be good at drawing?
A: No. A rough top-down map with a start dot and a few arrows is enough. You are drawing a map, not a picture.
Q2: What should my sketch include?
A: Three things: where the camera starts, arrows for where it travels, and a few labeled stops along the way. Anything clearer than that is a bonus.
Q3: Can I still change the camera with text?
A: Yes. The drawing sets the path, and your words handle angle, height, tilt, and speed. Most people use both together.
Q4: What if the first clip is not right?
A: You fix it in chat. Ask for a slower move, different light, or a swapped object, and the tool keeps the rest of the shot the same. No starting over.
Q5: Can I use a photo instead of a hand drawing?
A: Yes. A floor plan, a map screenshot, or a photo of a real place can work as the visual input, with your camera path marked on top.
Q6: Who is this useful for?
A: Real estate walkthroughs, travel clips, product promos, game previs, architecture tours, and anyone who wants a planned camera move without a crew.
Q7: How is this different from a normal AI video generator?
A: A normal AI video generator takes a text prompt and guesses the camera move. Gemini Omni can read your drawn path, run several moves in one shot, and let you edit by chatting, which gives you far more control over the camera.
Q8: Can I use real geographical path traces as input for the video camera path?
A: Yes. The system can interpret actual route paths captured from software like Google Maps to map out spatial trajectories.
Q9: Does the system read handwritten notes on the canvas sketch?
A: Yes. Gemini Omni contains a built-in OCR text recognition engine that extracts speed and orientation instructions written right next to your drawn paths.
Final thoughts
Drawing a camera path is one of those small changes that makes a big difference. Instead of writing a long description and hoping the tool reads it right, you draw a line and watch the camera follow. Add a few words for angle and mood, fix the rest by chatting, and you have a finished shot in minutes.
If you make promos, walkthroughs, or travel clips, this is worth trying once. Open the tool, sketch a rough path, and see how close the first clip lands. To start: